Hello Excellers, welcome back to another blog post in my #macromonday series for 2019. Today we are not writing any Excel VBA code. But let’s look at how to customise your Exel VBA environment a little bit. In particular, the Editor Format Tab options that are available to us. If you spend any time in the VBA environment then you may well want to customise it to suit your needs a little more. There are a number of options available. The Editor Format options deal in particular with size, colour, font and margins settings.
If you want to follow along with all of the #macromonday series for 2019then all blog posts for this and previous series are in one place in the link below. Bookmark it, it is updated every Monday.
How To Excel At Excel – Macro Monday Blog Posts.
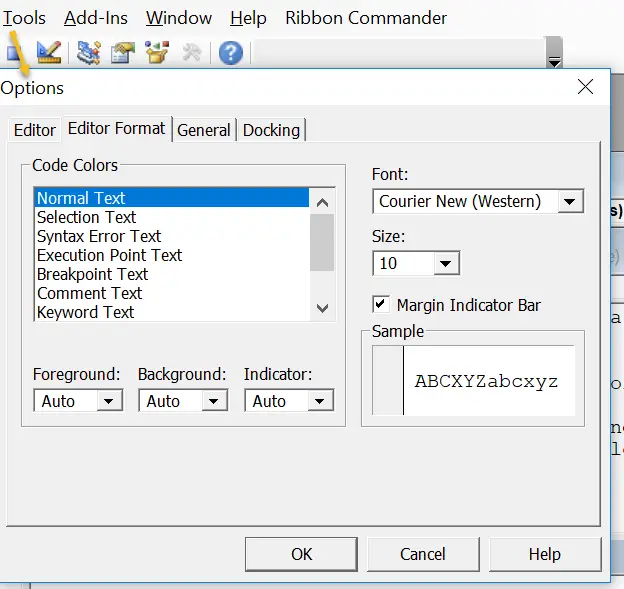
So, back to our formatting options in the Editor Format Tab in the VBA environment. First, to open the relevant dialog box to access these options you need to be in the VB environment. You can do this two ways.
- Using the Keyboard shortcut Alt+F11 or
- Hit the Developer Tab | Code Group | Visual Basic
Now you can get access to the customisation options available.
- Hit Tools | Options
The dialog box that opens has various options. Today we are looking to explore the Editor Format Tab. This is the area where you can customise the way your code looks.
What Can I Change In The Editor Format Tab?
Let’s step through each of the options and see what changes you can make.
1. Code Colours Option
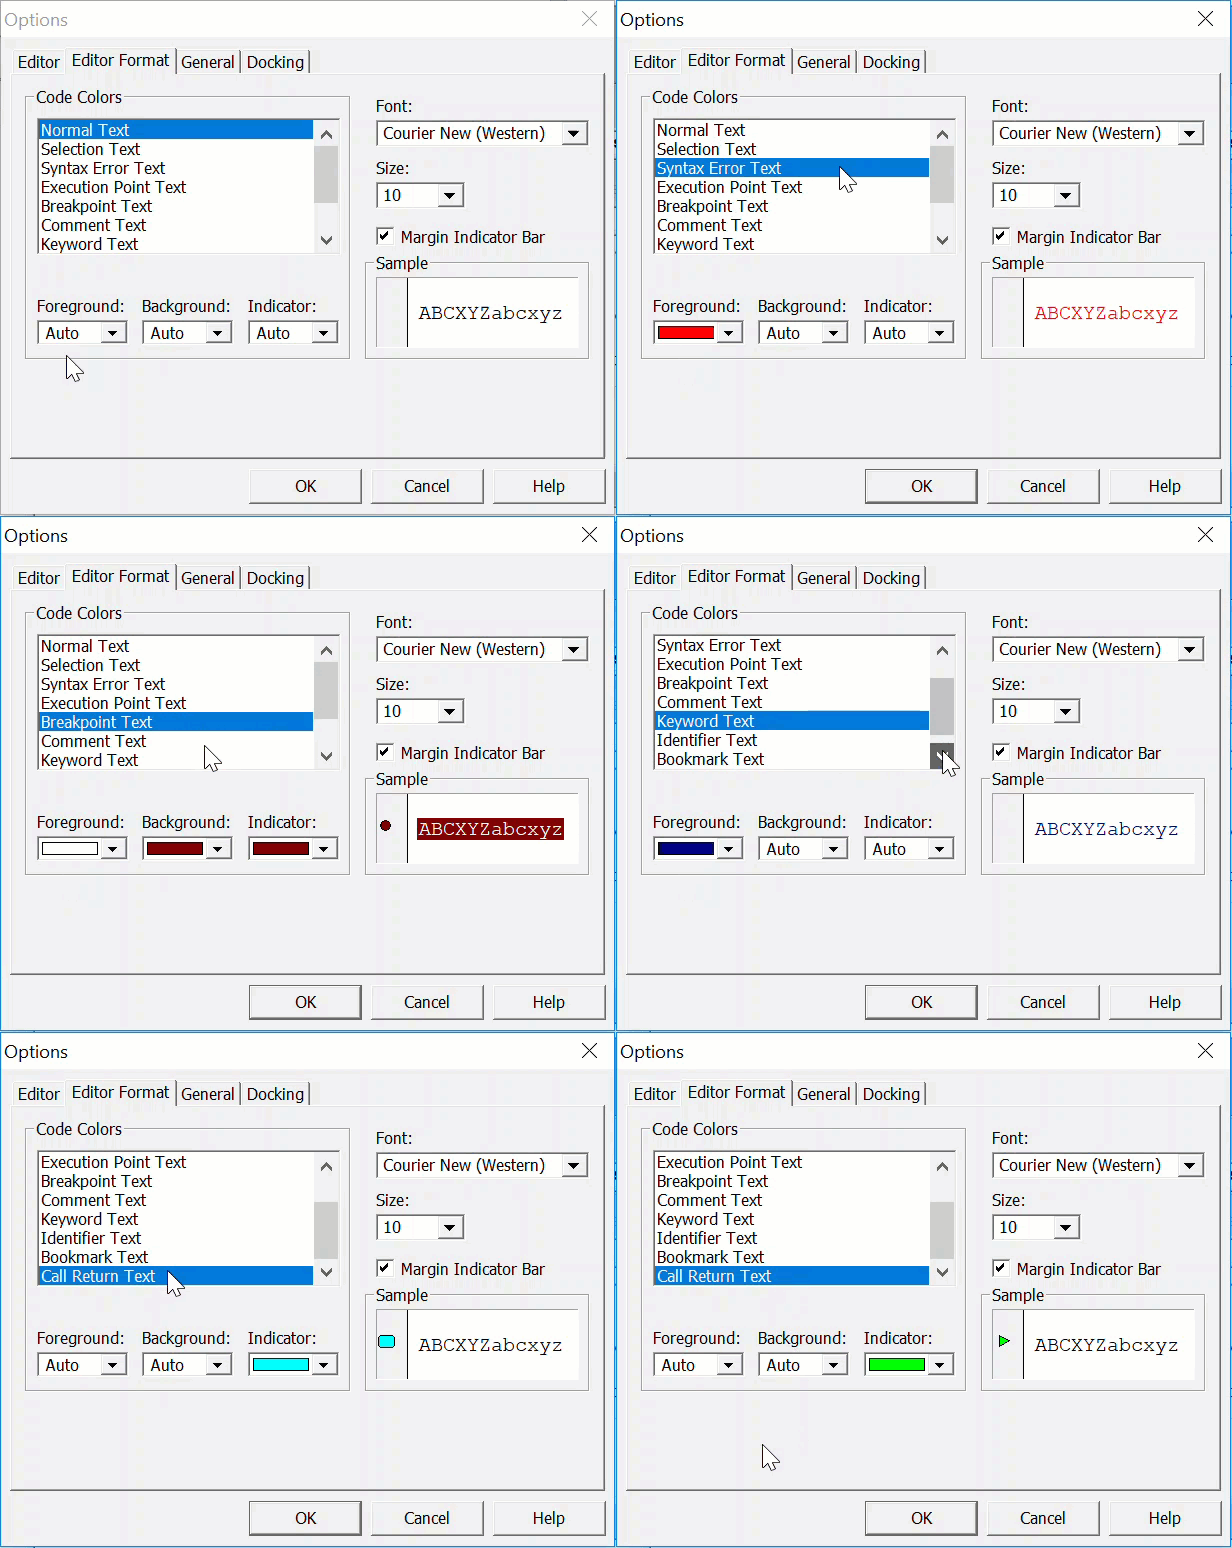
Well, this is probably as obvious as it states. This is the area where you can change the colour of the code you write. You can set the text colour as well as its background colour. There are some default settings in the options for various elements of the VBA code. Some of which will be familiar. You can toggle through the options to see the defaults as in the screencast below.
Here is the result before and after I have changed the default formatting for ‘Normal text’. I have actively changed how Excel displays selected text background from Blue To Green.
2. Font Option
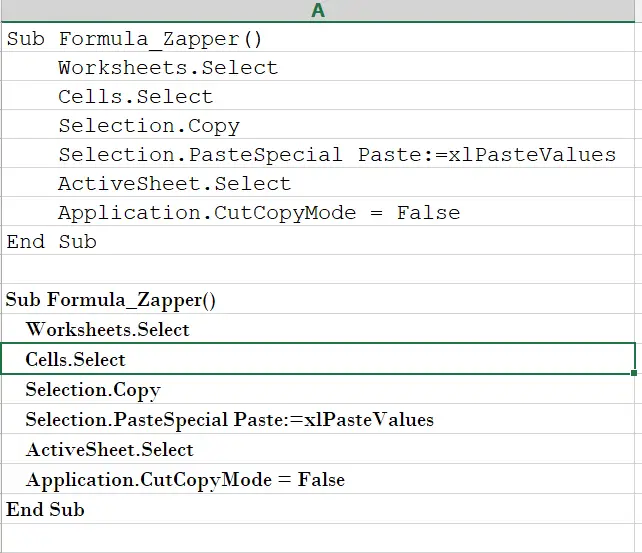
This option allows you to select the font that you want to write your code in. Choose which one you want to but do stick to a fixed width one such as Courier New or Lucida Console. This means that all of the characters have the same width which will make the code a lot easier to read. This is due to the fact that all of the characters aligned. You can see the result of changing the font from to a fixed width to a non-fixed width.
3. Size Setting Option
This setting again is down to your personal preference. You can have the size of the font as large as you need it for your display or even your eyesight. You can see the effects of increasing the size setting from the default of 10 to 14
4. The Margin Indicator Option
This option will control the display of the vertical margin indicator bar in your modules. This really should be turned on as it helps with the indicators in the code debugging process.
That is a run through of all of the Editor Format Tab options which help you to customise the code writing environment. I have seen the Font Option changed the most. This is due to eyesight issues of small font size.
I hope you enjoyed today’s Macro Monday blog post and I will be here next week with another Excel VBA Macro Tip.
What Next? Want More Tips?
So, if you want more tips then sign up for my Monthly Newsletter where I share 3 Tips on the first Wednesday of the month and receive my free Ebook, 30 Excel Tips.
 If you want to see all of the blog posts in the Macro Monday series. Click on the link below
Macro Mondays Blog Posts.
Do You Need Help With An Excel Problem?.
Finally, I am pleased to announce I have teamed up with Excel Rescue, where you can get help FAST. All you need to do is choose the Excel task that most closely describes what you need to be done. Above all, there is a money back guarantee and similarly Security and Non-Disclosure Agreements. Try It!. Need Help With An Excel VBA Macro?. Of course, you don’t need to ask how to list all files in a directory as it is right here for free.


