Hello, Excellers. Welcome back to another #Excel #MacroMonday blog post in my 2020 Series. Today I will show you how to write a short Excel VBA macro that will autofit all of your Excel Rows and Columns.
You may need to auto fit your Rows and Columns in Excel if your spreadsheet data is not fitting correctly. You can use the AutoFit feature in Excel to get perfectly sized Rows and Columns. This makes the worksheet look a lot better for presentation.
So, let’s get writing an Excel Macro to do this is the click of a mouse.
Starting The VBA Macro.
First, you will need to open the Visual Basic Editor. There are two ways to do this.
- Either by hitting ALT +F11 or
- Selecting the Developer Tab | Code Group | Visual Basic. Both methods have the same result.
Do You Want To Watch The Video?
Before you begin to write any code you need to decide where to store the code. You have a choice.
- To store your code either in your Personal Macro Workbook or
- Store it in your current workbook
What Is The Difference?
So, there is a difference. If you save the code in your Personal Macro workbook it will be available in any Excel workbooks. If you store it in the current workbook then use is restricted to that workbook. In this instance, I may want to reuse the code so I will store it in my Personal Macro Workbook.
When you select this option then Excel creates (if it is not already created) this workbook and saves the macro in that location. By default, this macro workbook is named Personal.xlsb. This is a really useful macro that I want to reuse over and over again. So, I will make sure to save this in my Personal Macro Workbook.
If you want more details on creating and updating your personal macro workbook then I recommend my blog posts below.
Creating and Updating Your Personal Macro Workbook
Why Is My Personal Macro Workbook Not Loading Automatically?
Create A Shortcut To Your Personal Excel Macro Workbook
Write The Code.
So, I have inserted a New Module into my Personal Macro Workbook. Type Sub then the name of the Excel macro. In this example, I have named my Macro AutoFitRowAndCol.
As you type the name of the Macro and hit return, Excel will automatically insert End Sub. Now all that is needed is the rest of the code in between these two lines of code.
[stextbox id=’info’]
Sub AutoFitRowAndCol()
End Sub
[/stextbox]
Selecting All Cells In The Worksheet.
The next line of code is a simple one. It selects all of the cells in the worksheet. The CELLS property has a number of methods and properties. Simply type CELLS and dot, and you will see what s available. The SELECT option is used.
[stextbox id=’info’]
Cells.Select
[/stextbox]
AutoFit Row And Columns.
Next, the rows and columns are being set to auto fit All cells in the worksheet have already been selected in the line of code above. The Rows and Columns properties are used with the autofit method.
[stextbox id=’info’]
Cells.EntireRow.AutoFit
Cells.EntireColumn.AutoFit
[/stextbox]
Ending The Macro.
Finally, once the rows and columns have been adjusted to fit the code finally ends. This instruction was already entered into the module for us when started the type the name of the Macro.
[stextbox id=’info’]
End Sub
[/stextbox]
Copy The Code.
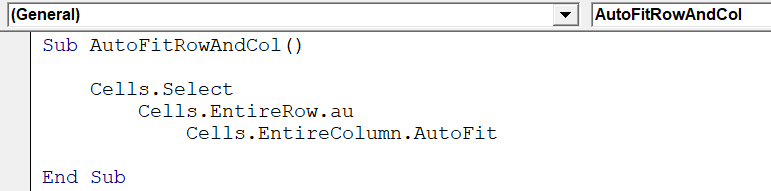
Finally, here is the full macro code to copy. Why not attach it to a button, to easily autoFit you Excel Rows And Columns?.
[stextbox id=’info’]
Sub AutoFitRowAndCol()
Cells.Select
Cells.EntireRow.au
Cells.EntireColumn.AutoFit
End Sub
[/stextbox]